Important for the quality of our products is the precise and accurate selection of faultless components before the start of production. Every finished part of special connectors passes through several optical quality assurance steps according to DIN ISO 9001 quality management as part of the prototype evaluation. For the quality test, we use specific devices that stand out clearly in their performance against alternatives.
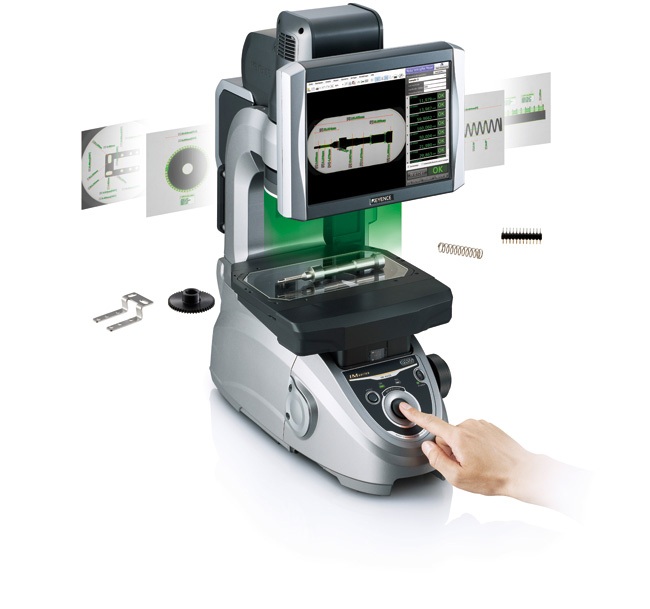
With the Keyence IM 6225 as an image-based measuring system with a highly precise telecentric optics, our specialists receive extensive and detailed evaluations of various quality criteria when testing rotationally symmetrical components.
Up to 100 parts can be recorded and evaluated simultaneously with a shadow measurement with reference to optical comparators - up to 99 characteristics can be measured at the same time. Immediately the components with deviations are displayed and can be separated. In this way it is possible to ensure cost-saving and effective high quality.
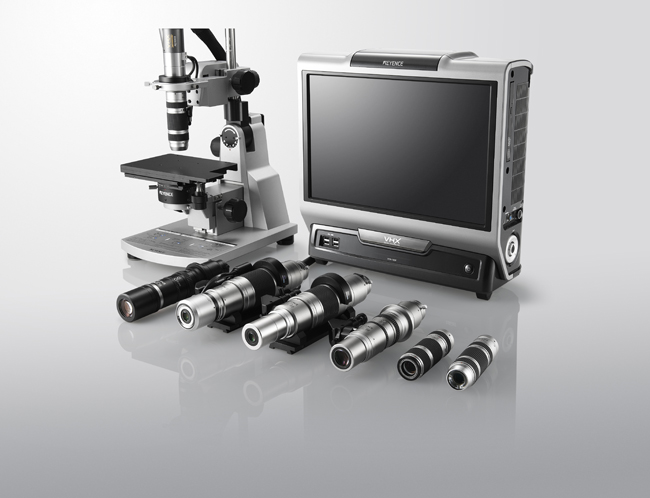
The microscope VHX 700 is used for the point-like optical quality control of components and finished products as well as their documentation. The extremely high resolution of 1600 * 1200 pixels HD, which can be combined with different light options (diffuse light, polarized light, scattered light, side light, bright field, dark field, difference interference contrast, incident light, ) makes it possible to enlarge objects up to 200 times. In this way, all possible deviations can be clearly shown in the 3D view. 3D view can also be used to display uneven surfaces. For this purpose, several images with different sharpness settings are combined into one overall image. This method makes characteristics of objects visible that would otherwise not be visible. All views and evaluations can also be saved as a photo as well as be printed.
Uwe electronic places a very high value on quality assurance.


